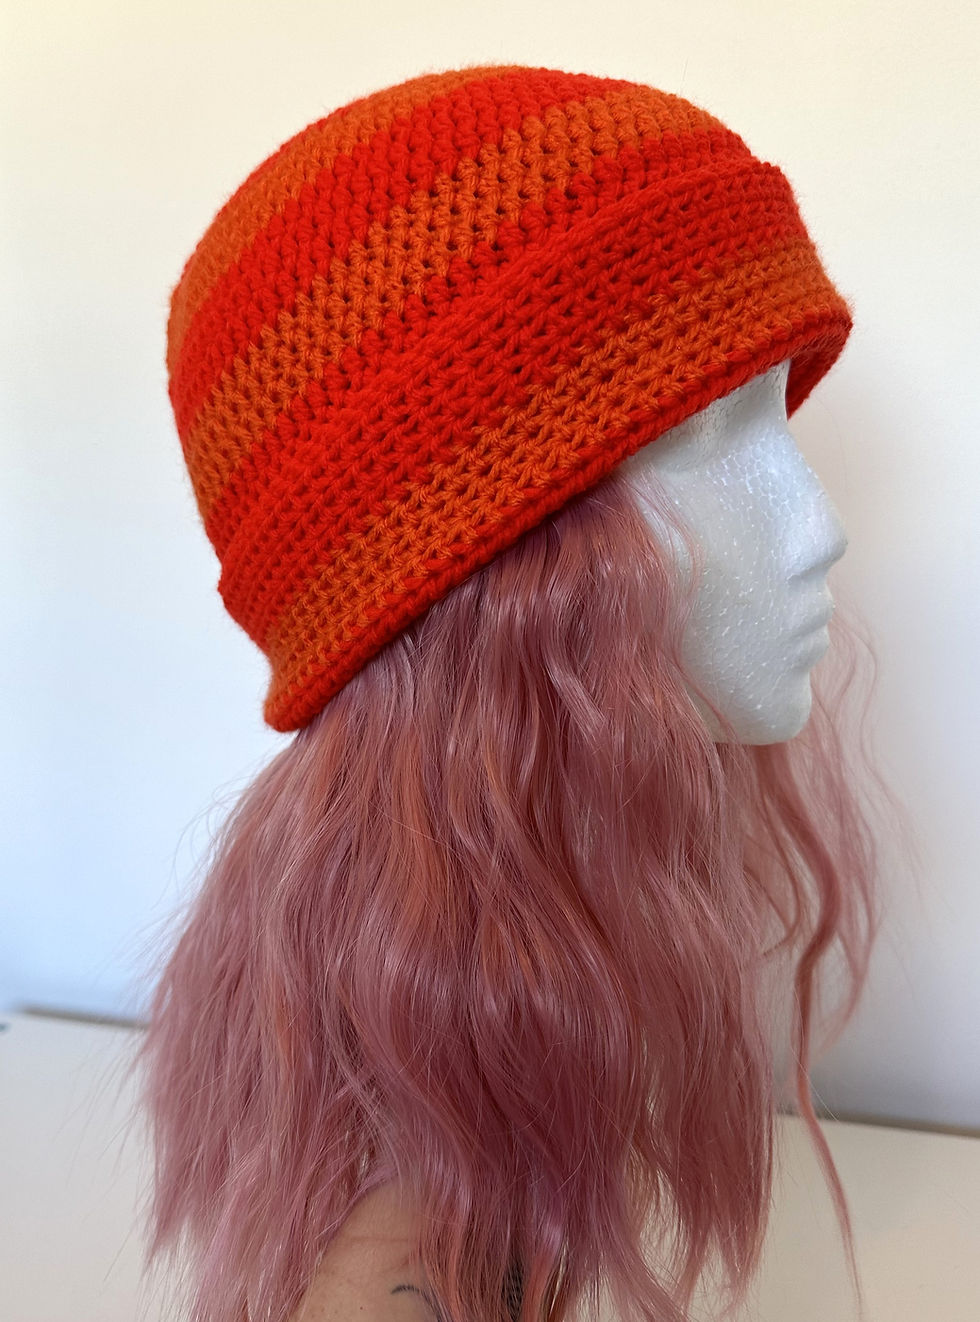
Beanie Hat Crochet Pattern
- Teenie Crochets
- Feb 3, 2024
- 2 min read
Updated: Dec 1, 2025
Free beanie hat crochet pattern.

These beanie hats are perfect for beginners. The pattern can be altered to make these in 3 different sizes, small, medium and large. Hats can also be made in any colour of your choice.
-MATERIALS-
· DK yarn in various colours
· 3.5mm, 4mm or 4.5mm crochet hook
· Embroidery needle and scissors

-ABBREVIATIONS-
· ML - Magic Loop
· CH – Chain
· ST – Stitch
· SL ST – Slip stitch
· SK ST – Skip stitch
· SC – Single crochet
· HDC – Half double crochet
· DC – Double crochet
· JOIN and FO – SL ST into next ST, chain one, cut yarn
· FO- Fasten off
· T – Turn
-CONSTRUCTION NOTES-
· Numbers written inside {} state the number of stitches at the end of round.
· Pattern written inside ** should be repeated the number of times stated.
· Pattern written inside () should be completed in one stitch.
· Pattern is written using US Crochet terminology.
-PATTERN NOTES-
· For a large hat use 4.5mm hook. Completed measurements will be 10.5” across and 10” from top to bottom.
· For medium hat use 4mm hook. Completed measurements will be 9” across and 9.5” from top to bottom.
· For a small hat use 3.5mm hook. Completed measurements will be 8” across and 9” from top to bottom.
· You can make your beanie in any colour you like, and you can change colour whenever you like.
· For reference I changed colours every 3 rows.
· Instead of CH2 at the beginning of rounds, I recommend doing a ‘stacked DC’ to avoid leaving a gap.
-SPECIAL STITCH-
· Stacked DC – see the following video for instruction.
-METHOD-
Beanie – make in colour of choice.
1. Into a ML make 10HDC, SL ST to join {10}
2. CH2, HDC into the same ST, 2HDC into evert ST around, SL ST to join {20}
3. CH2, HDC1, 2HDC into the next ST, HDC1, 2HDC into the next ST Repeat around, SL ST to join {30}
4. CH2, HDC2, 2HDC into the next ST, HDC2, 2HDC into the next ST Repeat around, SL ST to join {40}
5. CH2, HDC3, 2HDC into the next ST, HDC3, 2HDC into the next ST Repeat around, SL ST to join {50}
6. CH2, HDC4, 2HDC into the next ST, HDC4, 2HDC into the next ST Repeat around, SL ST to join {60}
7. CH2, HDC5, 2HDC into the next ST, HDC5, 2HDC into the next ST Repeat around, SL ST to join {70}
8. CH2, HDC6, 2HDC into the next ST, HDC6, 2HDC into the next ST Repeat around, SL ST to join {80}
At this point for the large hat the diameter will measure 6” and for the small hat it will measure 5.5”.
9-30. CH2, HDC around, SL ST to join {80} – 22 rows.
31. SC around {80}
Join and FO.
Fold edge of hat up.


Comments